
This is the project I am teaching in a workshop today at the ladies retreat I am at :).
If you are planning to do this project please read the directions through once or twice to get a good idea of things before you dig in... and have FUN!
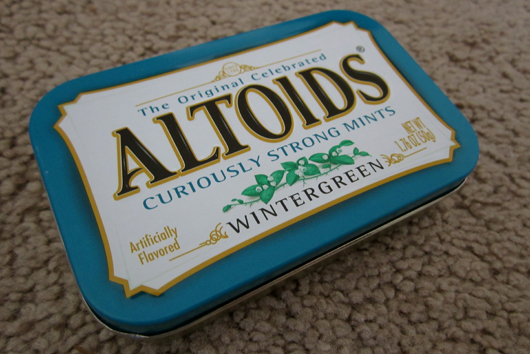
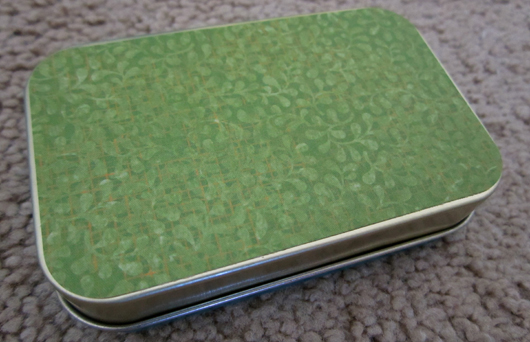
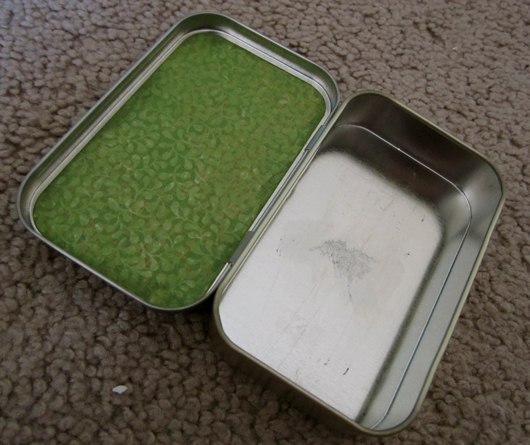
1. Buy some Altoids.
(I preferred the teal "wintergreen" tin over the red "peppermint" for this particular project :).
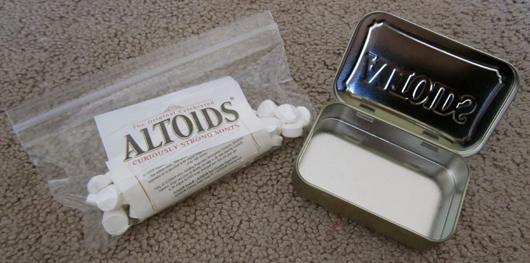
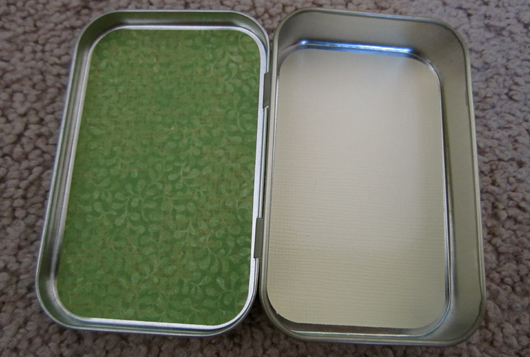
2. Empty the mints and dust the tin out.
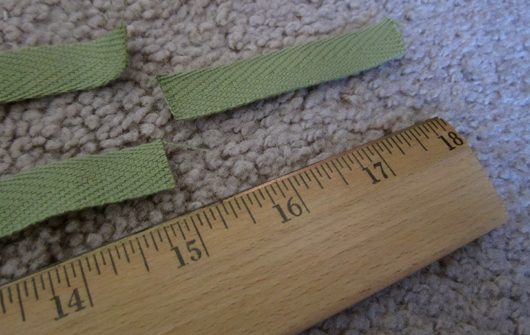
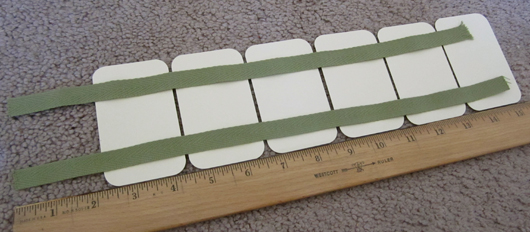
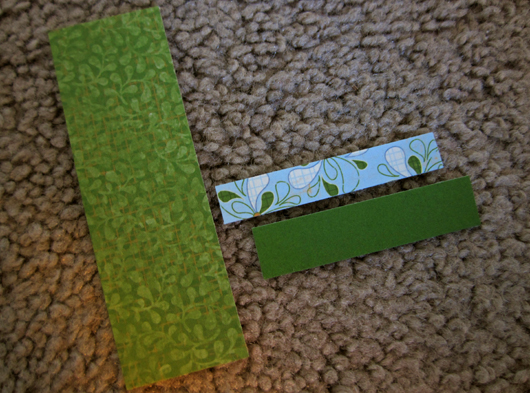
3. Cut two 15" strips of ribbon....

... and one 3" strip.
... and one 3" strip.
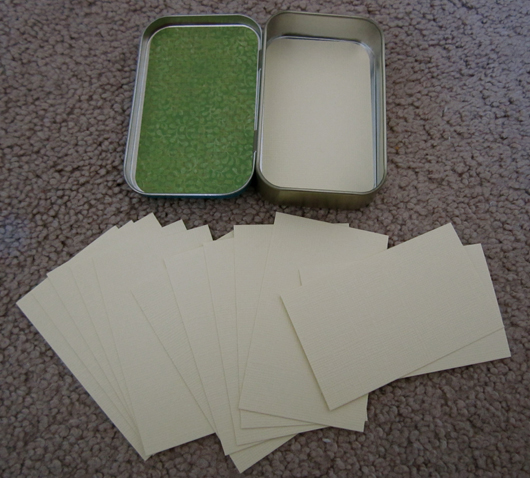
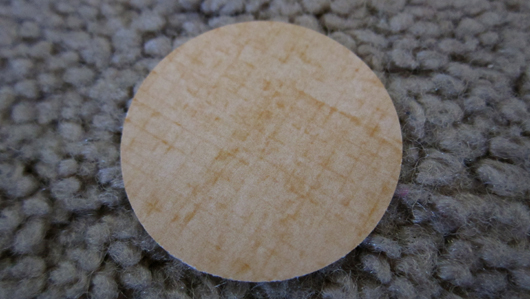
4. Cut one paper 2-1/4" x 3-5/8" for the top of your tin.
5. Cut one paper 2-3/16" x 3-9/16" for the bottom of your tin.
6. Cut two papers the same size as Step 5 for the inside-top and inside-bottom.
(I made my inside-bottom color the same as my "accordion" page colors in Step 7.)
7. Cut twelve 2-2/16" x 3-1/2" papers for the "accordion" pages.
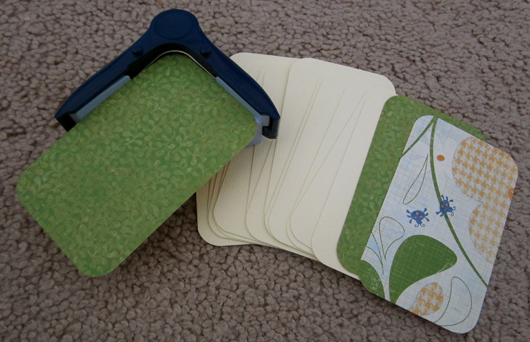
8. Round all the corners to all those papers you just cut... and ink/distress the edges if desired.
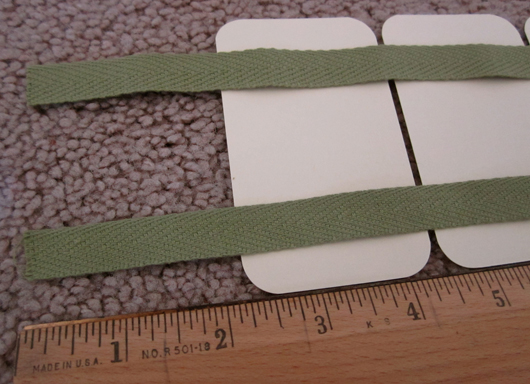
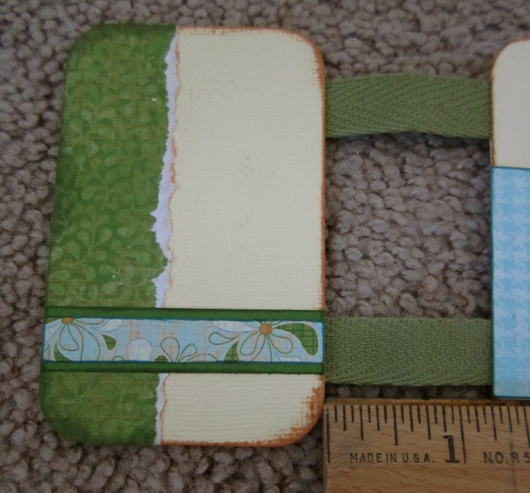
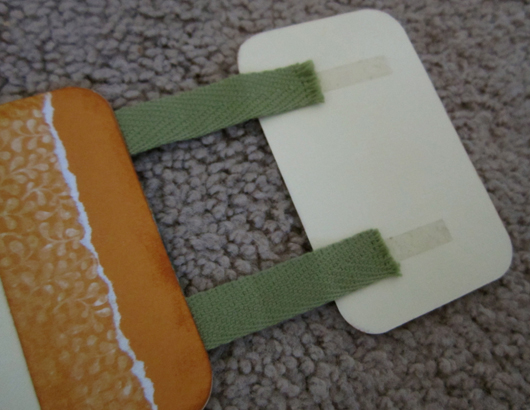
9. Stick your two 15" ribbon strips to the back side of 6 of your "accordion" papers, just above or below where your corners are rounded. (I used Terrifically Tacky Tape.)
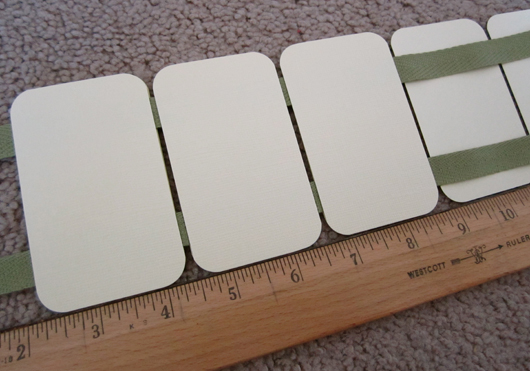
Leave a teeny bit of room in between each paper so the ribbon can fold...
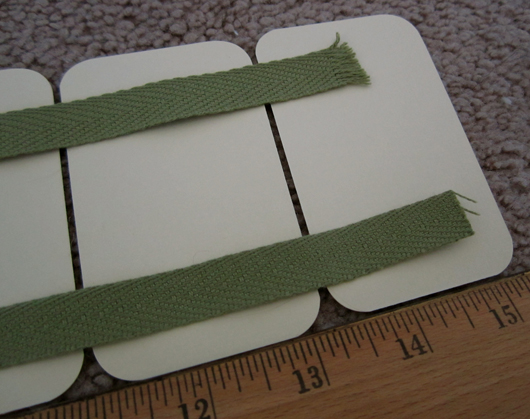
... leave about 2-1/4" of ribbon out on the left to go under the inside-bottom piece of your tin (from Step 6)...
... leave about 2-1/4" of ribbon out on the left to go under the inside-bottom piece of your tin (from Step 6)...
... and end the right side before your paper ends, you don't want this to stick out.
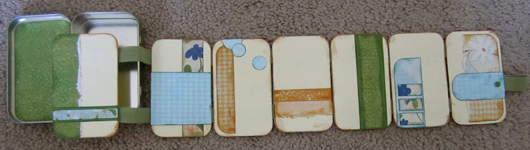
10. Start sandwiching your other 6 "accordion" papers down.
(I used more Tacky Tape to insure the ribbon stuck. But I also used a gluestick to make sure all the edges of the paper were sticking to each other. The gluestick really only works for paper to paper.)
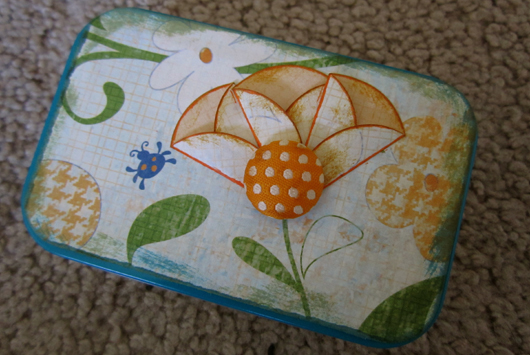
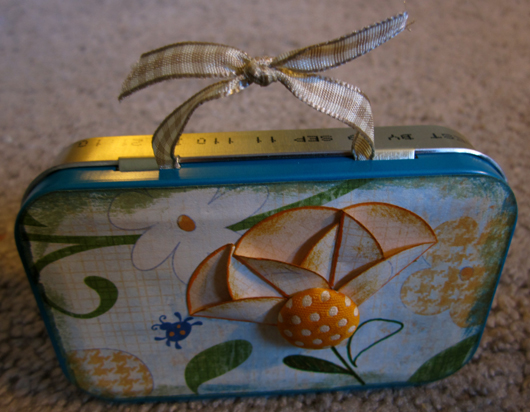
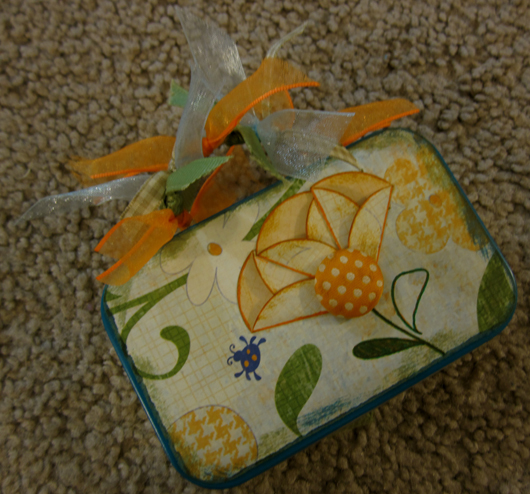
11. While my glue dried I worked on the embellishment for my lid.
Be sure to do this BEFORE you stick anything permanently!!!
Notice my edges are inked (from Step 8) and I have a big brad in... which I would not be able to do if the paper were already stuck down...
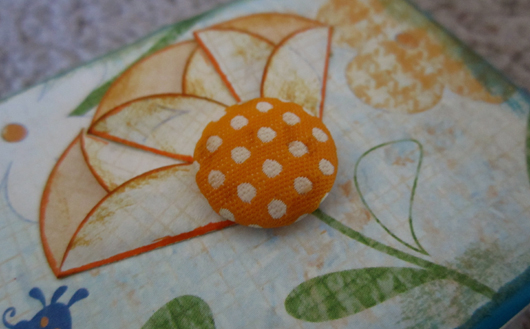

... with a big, fun brad stuck through the flower and the paper.
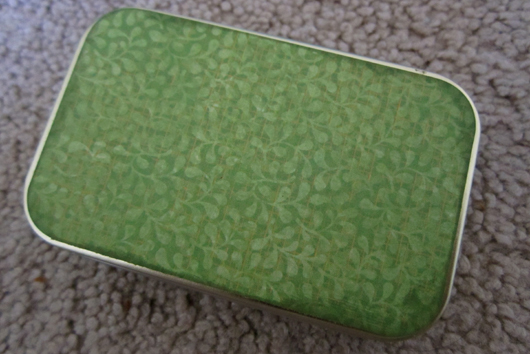
12. After possible embellishments, inking or distressing... you can stick your top paper down...
... as well as your bottom paper...
... and the inside-top paper. We don't do the inside-bottom till Step 15.
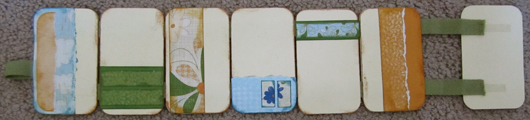
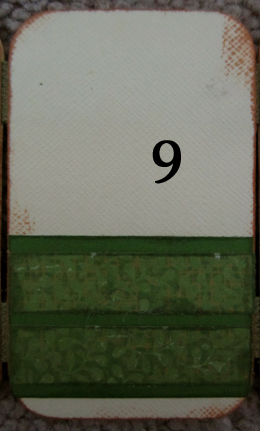
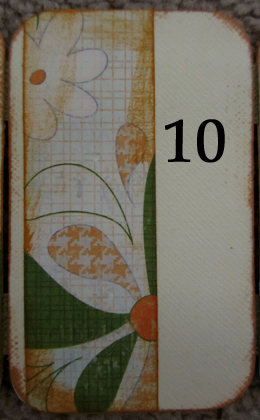
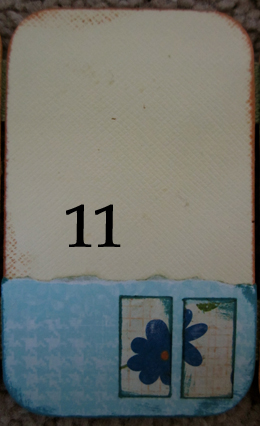
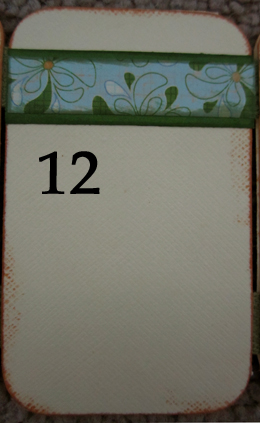
13. Now you can start decorating your pages! :)...
... not forgetting your "end" or inside-bottom page (from Step 6).
... not forgetting your "end" or inside-bottom page (from Step 6).
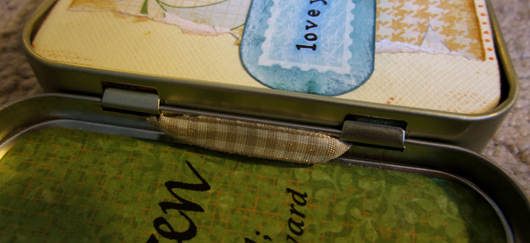
This page sticks to your ribbon after about a 1-1/4" gap...
... also remember that your "last" page on the right will have the 3" ribbon (from Step 3) hanging off the edge for a pull...
... then there is still the back side - don't forget to decorate the back side!
- - - - - - - - - - - - - - - - - - - - - - - - - - - - - - - - - - - - - - - - - - - - - - - - - - - -
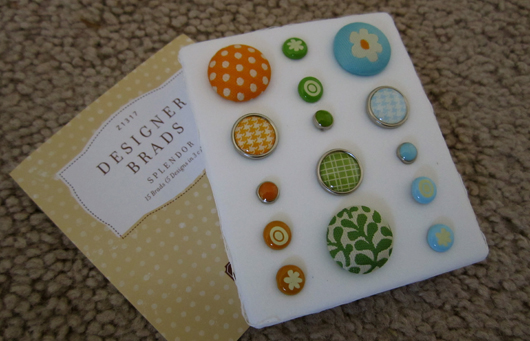
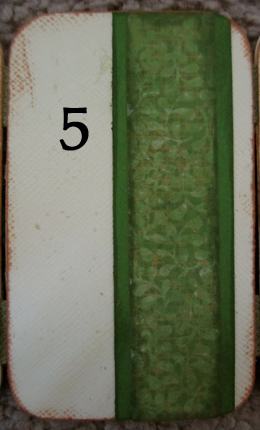
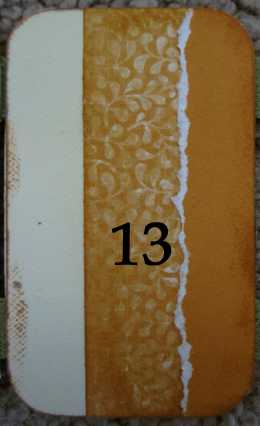
*If you happen to be making one of my exact kits... you will notice each one of your little decorative pieces is numbered for each page (13 total). It might also have red dots in the corners to indicate a corner to round... or a red squiggly line to indicate a paper edge to be torn (look-up paper taring HERE - step 2 only)...
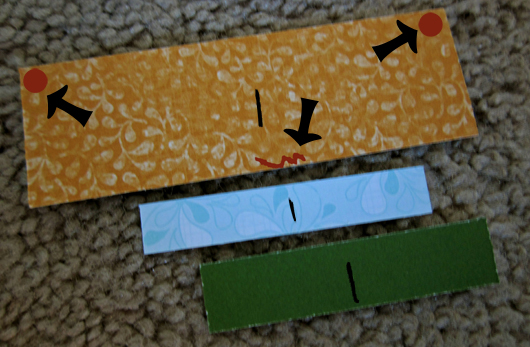
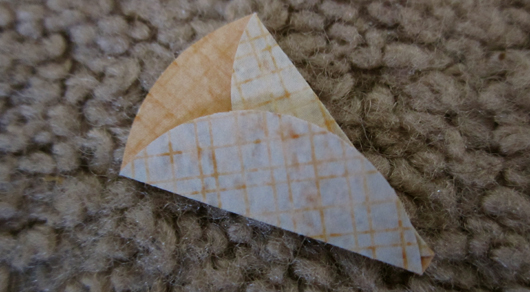
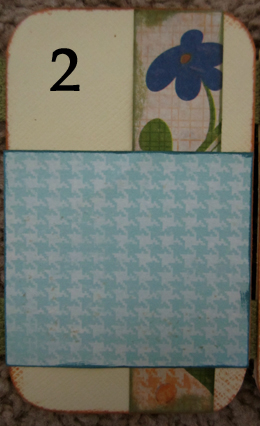
... here are your pieces for page 1.
... here are your pieces for page 1.
Just take your numbered pieces...
group them together
then tare or round accordingly
ink the edges if desired
and stick them down as you see in the following... ... ...
 |  |
 |  |
 | 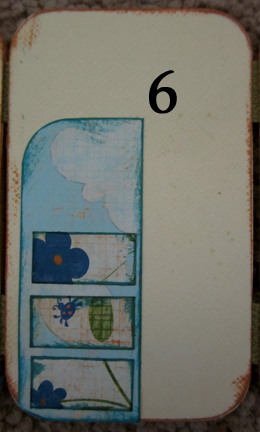 |
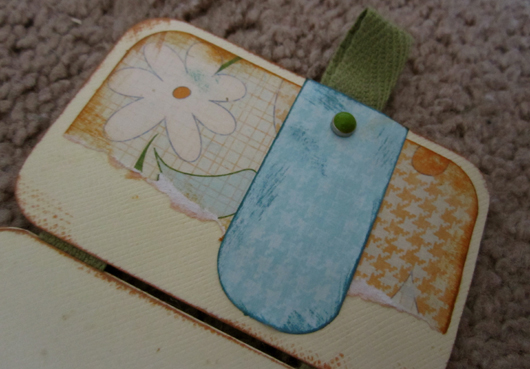
Page 7 is a little special... be sure to sandwich your 3" ribbon and the back of your brad in between the papers so nothing sticks out either side...
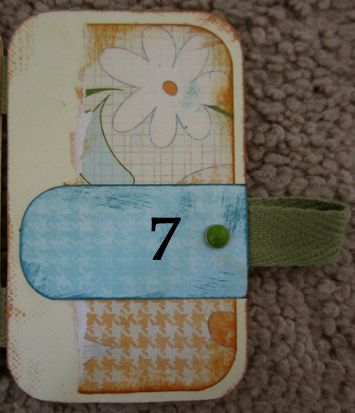
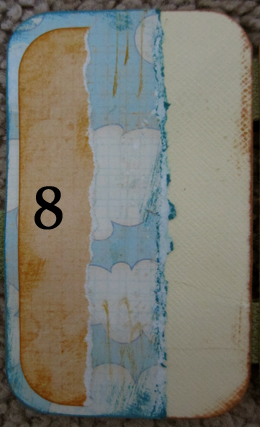
Notice the back side of Page 7 is... Page 8 and you see no proof of ribbon or brad...
 |  |
 |  |
 |  |
- - - - - - - - - - - - - - - - - - - - - - - - - - - - - - - - - - - - - - - - - - - - - - - - - - - -
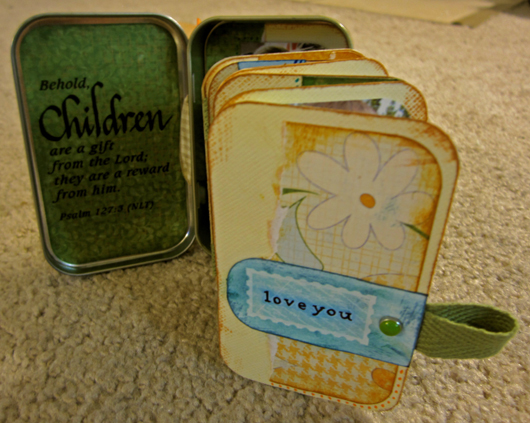
When you get to the page after the ribbon gap be sure to leave it blank. This is the inside-bottom page that will eventually stick the ribbon down to the bottom of your tin and hold all your pages in place...
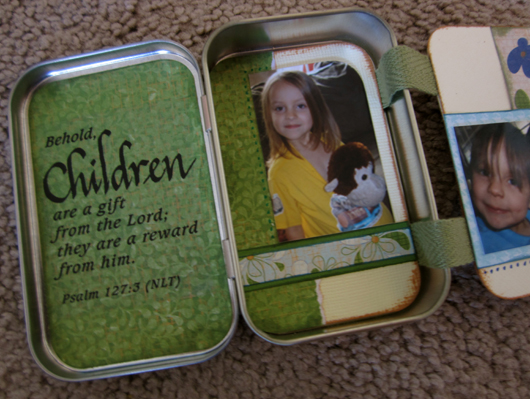
14. Add personal embellishments and photos.
Maybe some rub-ons...
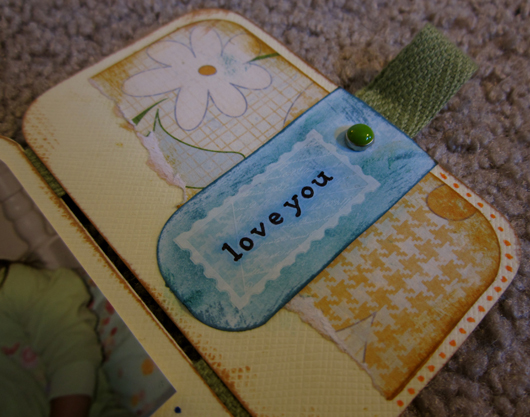
... maybe a Bible verse like me :).
15. After all your pages are totally complete...
Generously adhere your ribbon and the "end" or inside-bottom paper to the inside bottom of you tin :).
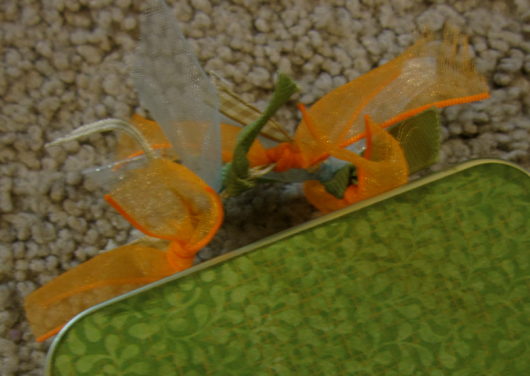
16. As if all that wasn't enough... if you are a ribbon lover like me on an altered project... We NEED to add some ribbon! This will help hide the printed date on the tin without more paper and adhesive.
Just stick some ribbon through the tiny holes where the tin hinges...
... and tie it in a knot leaving the ends sticking out...
... then tie more ribbon in knots onto the first ribbon you tied through the holes, leaving their ends sticking out as well. MMM - isn't that yummy?!?!...
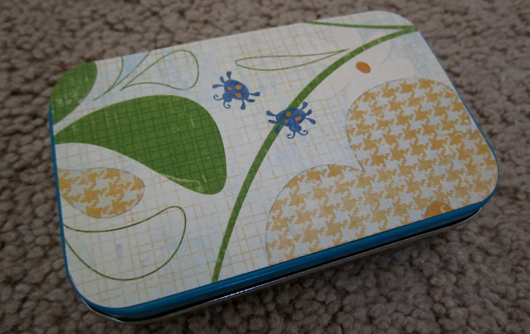
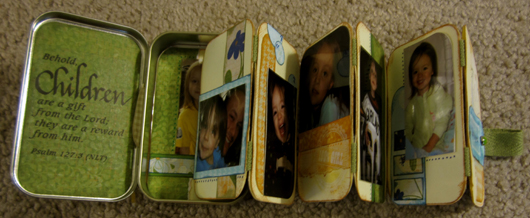
Now you have your finished product!!!
I know it seems like I lot of steps. But just because I am thorough does not mean it's hard... this was a FUN and easy one, trust me! :)
And as always if you follow this tutorial take pics of what you made and share them here with a link in a comment below. Or if you cannot share pictures just leave me your feedback :).
Take care and God bless.
8 comments:
I loved this project when you showed off one you did before. I love the concept BUT I have one question....When you have a raised front of your tin how do you get your paper to say so nice....I started mine after Christmas...Yes I wnet all the way back to your first demo. I have all the layouts done But no pictures printed for them yet!!
Super cute! Now I want to make one. :)
Joy Wilcock
Thank you for sharing these directions. The tin is gorgeous!
I didn't know how else to reply to you so here I am. Oh my, I love this tute. What a FABULOUS idea and execution. I'm so going to give this a go and if it turns out well enough I may give it to my mother in law.
It's good to see you too. We should "visit" more often. :)
Thank you so much for the tutorial! I just love this project and have never had the guts to try it. You make it look so easy. Thanks!
Awesome project and terrific tutorial! Thanks for sharing - I actually have several tins and I know now what I'll be doing with them!
my talent for scrapping is fairly basic but i love recycling the altoid tins and this is by far the most spectacular project i've seen. very well done!
Thanks for awesome tutorial!Thank you for sharing these directions.It help me in my project....
weight loss
Post a Comment