Monday, September 24, 2007

A New Project for Me

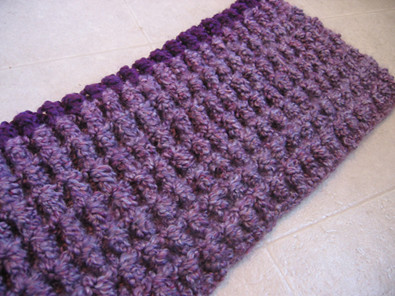
Take a look at what I started last week...

...it's going to be a twin sized blankie for my dear daughter. I am crocheting it with my own directions because the last time I used a pattern with this stitch it went vertical and I totally messed up on it! That was with the blanket I made for my husband that he totally loves with ALL it's flaws. So now I'm adapting those directions to make the pattern horizontal.

My daughter says, "Oh mommy are you making me a blankie? Oh I like it!" ;o)

Friday, September 21, 2007

Bible Study

Last night was the start of a new Women's Bible Study I am joining, it was a wonderful night seeing old friends from another church, fellowshiping with close friends, getting to know my mentor more thru her testimony, and entering into a BEAUTIFUL time of prayer.

I was very encouraged by God continuing to tell me that I have His power, but since something hasn't quite been feeling right I asked my mentor what she sees for me in the Lord, she asked me what I am doing with the power He has given me, and I was like WHOH! DUH! See why don't I think of things like that for myself?

So today I was working on using the power God has provided within me thru the Holy Spirit. I ended up having more strength to handle my ever whining 2 year old, my grumpy 1 year old and my toy infested home, it was great.

But now that the day is almost over I am noticing the attack through discouragement and since I am SOOO not okay with that I thought I would change my thought process and remember on something that was encouraging today, plus I want to share it with all of you.

You see the Bible study we are starting is going thru a book called, "Lord is it Warfare? Teach me to Stand", but I will also be going thru another book with my Pastor's wife called "Healed and Set Free"... I spent some time in this book today and really wanted to share a poem that was in there, it is AWESOME!!! It was written by Dean Jay for his wife Tracey, it's adequately called

Healed and Set Free

A Pure white dove, You were learning to fly.

Crippled in flight, You were left to die.

No bandage or brace could heal the wound.

As you looked ahead, You felt you were doomed.

It is said God knows when even a sparrow falls.

He knew you were hurt, He answered your calls.

The bondage was removed and you now are free.

For a moment I thought you no longer needed me.

By grace God showed me, She's not saying good-bye.

She's spreading her wings and learning to fly.

So spread your wings and fly my dove.

We've truly been blessed with

God's Pure Love.

Isn't it wonderful?! That gave me so much encouragement not only in hoping to "learn how to stand", but also in growing wings to learn to be free and fly... it is possible and that is motivating!

I love you ladies... I hope you all are doing well.
Wednesday, September 19, 2007

Wordless Wednesday

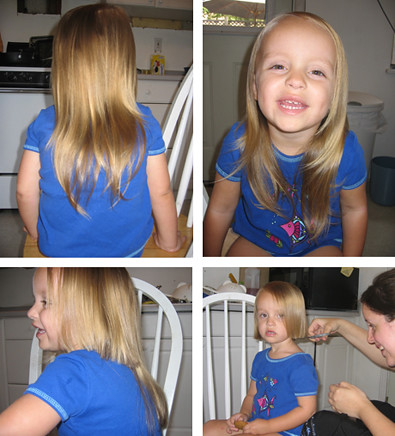
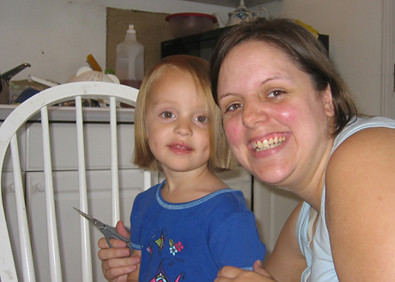
This is my daughter's first haircut ever! AND... this is my first time cutting hair ever! It was a little scary, but my goal was to have a lot of baby hair to keep, so it turned out being a job well done... she just looks so grown up now :o( My baby girl.

Oh! And it was so cute, on Sunday at church a friend asked where my daughter's hair went and she told him it was in the kitchen :o)

Sunday, September 16, 2007

Crop Progress

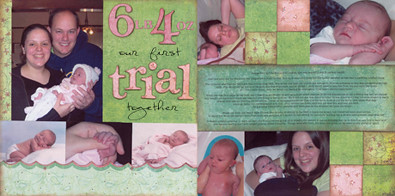
Just thought I would share something Scrappy with you since I am the Scrapping Servant :o) We had another crop at my old church yesterday, and since I have my new method of picking and printing photos (as shared HERE) I was actually able to be productive! I got 2 whole two-page layouts done in about 10 hours (yes, I'm a very slow scrapper). It was wonderful, here they are...
Journaling:Oh Joshie! I can't even begin to say just how much you blessed me this day. With your wonderful attitude on 3 hours of sleep, your constant encouragement, the endurance of 3 hours on your knees, the wonderful praise of "you did it!", the adorable pride when you wanted to take JJ and show her off, the cuteness when you fell asleep holding her in your arms. I could never have done it without you my love.

Journaling: JJ was born at 7lbs 3oz and 20 inches, she was beautiful and had perfect health.

Just the next day we found out her weight went down to 6lbs 14.5 oz, it was hard news but the doctor assured us this was a perfectly normal thing.

The problem was that our little girl was not nursing well. She would not open her mouth big enough to latch on correctly so she was not getting enough milk. She would cry all the time because she was frustrated, and so would I. Josh would have to take her from me and calm her down so I could calm down, then we would try feeding all over again. This was a painful experience.
When she was four days old we both had a check-up scheduled as well as a photo shoot planned at Kiddie Kandids. We had a feeling she had not gained any weight yet especially since she was still not filling her clothes in. We found out she was down another 10.5 ounces, and I was not encouraged to learn that all this was not healthy for me either. I cried at my appointment as they told me not to even get JJ's pictures taken that day, but to just go home try nursing again and rest. Josh calmed me down, assured me that God had this handled, we got some BEAUTIFUL pictures and were glad at the decision we made.

When she was 6 days old she was looking so skinny in the bath it made me so sad, but I received some good advise to enjoy her when we weren't both frustrated and annoyed, so I ended up just sitting on the couch holding her a lot and taking sweet naps with her.

It wasn't until JJ was 11 days old that she finally started going up in weight, she gained 4 ounces bringing her up to 6lbs 8oz, and just 8 days later she made it back to her birth weight plus an added 2 ounces. Things were still hard, but from this point on we were slowly trudging uphill.

Products Used: MMM! For the first layout I finally got to use some of those yummy Crystals from Prima, along with some of the chipboard they sent me, some patterned cardstock from Crate Paper, and more of my glossy accents glue from Ranger.

For the second layout I used the Phoebe Collection of papers and monogram letters from Basic Grey. I also made my own rub-on with a transparency for the first time!

Wednesday, September 12, 2007

Wordless Wednesday

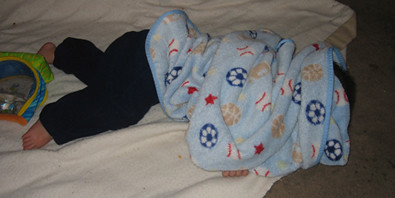
My son fell asleep on the living room floor, sooo cute of him... not to mention the fact that he always sleeps with his favorite blankie over his face like that!

Wednesday, September 05, 2007

Dr. Appointment Update

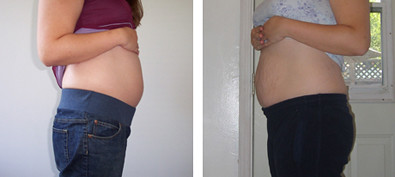
I am now about 5 months pregnant, I haven't gained any weight (because I think my body knew I didn't need anymore) the baby is growing nicely with a strong heartbeat and I am due for an ultrasound to see what I am having sometime before the 3rd.

Here's a pick of my tummy with my first baby and my tummy with my third!Crazy huh?! :o) It feels like I've been growing over night lately!

Saturday, September 01, 2007

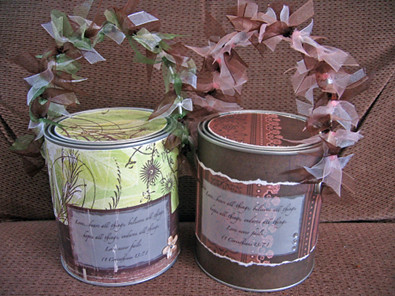
Altered Can Instructions


1. Purchase an empty paint can.
I found Home Depot to be the most expensive ($4.20) and Dunn Edwards to be the cheapest ($1.78) for a one gallon can.
You could also purchase the clear pails like from Stampendous (pictured above) but then you would have to alter the instructions accordingly.
Don't forget to pick up a paint can opener (or key) as well.


2. Pick your paper and coordinating embellishments.


3. Plan your layout design before you start, maybe jotting a sketch down.

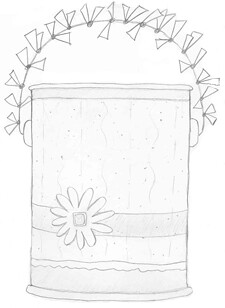
Here is the Sketch I made... notice it shows me where my darker solid paper is, and where my patterned paper is and that it has a torn bottom edge. I also knew I wanted to use sheer ribbon around the can with a flower on it.

Of coarse I made that sketch all for you, but really it's all in my head... I just want you to know you need a plan.


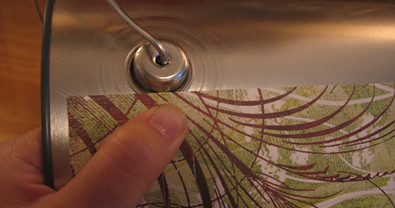
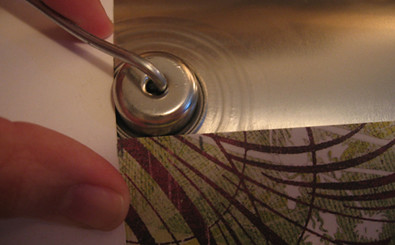
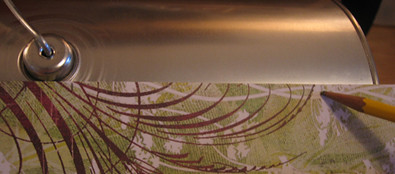
4. Lay your can on it's side and hold your paper parallel to the top of the can and up to the handle knob.

* You will need to hold the top of your paper at different distances from the top of the can depending on your design plan... notice mine is not right up to the top.
Then hold a piece of scratch paper the opposite direction (also up to the knob) and make a mark... do this on both sides of the knob.

5. Make another mark so you know about where you want your paper to end.
(In my case this is about where my paper will be torn.)

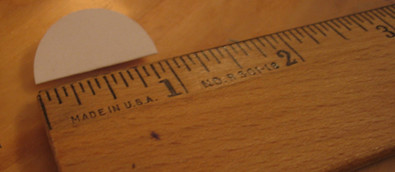
6. Punch or cut a 1" circle out and fold it in half.
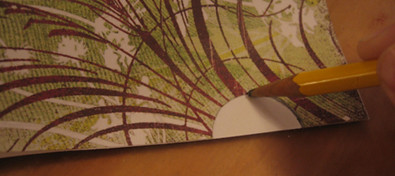
7. Line that half circle up with the marks you made in step 4, trace it and cut it out.

8. Cut your paper to 10 3/8" wide.

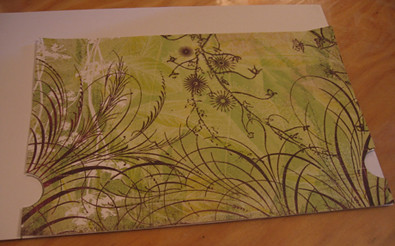
9. Use your cut side as a guide to trace the other side... then cut that side out.
Test your paper on your can... I noticed at first I had a hard time knowing where my paper should go, so I pictured a couple tips that will help you line things up.

You could take the scratch paper your circle was punched from and place it evenly around the knob to show you how far your real paper should be from it...
Or you could simply use scratch paper to estimate the center of the knob and make a mark on your can, this is about where your paper will start.
10. Now since you need a second paper the same as your first to go on the other side of the can, simply cut your paper 10 3/8" wide by whatever height your first paper is... trace your half circles and cut.
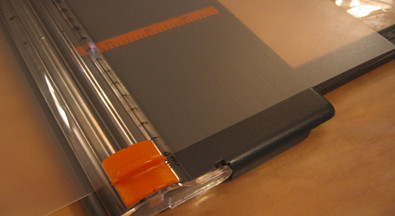
*GOOD TIP: Make a template out of left over plastic dividers by cutting it
10 3/8" x 7 7/16" and repeating steps 4,6 and 7 twice... make sure you test your template every time you use it as not all cans are the same.
11. Use your template (or your can) to make a mark for your bottom paper's height... cut it at your mark and at 10 3/8" for your width.
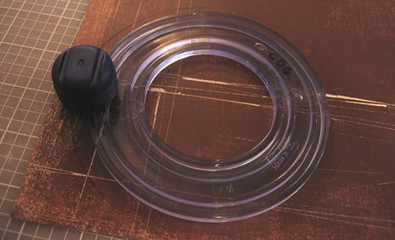
12. Cut a 5 1/2" circle for your lid. (I used my Creative Memories circle cutter.)

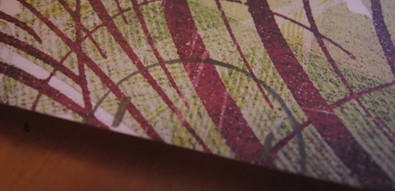
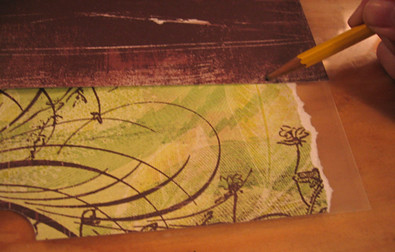
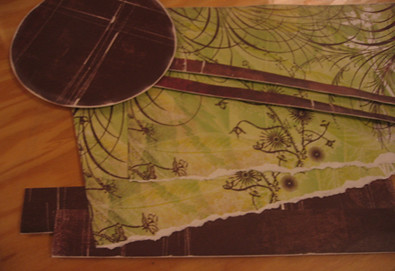
13. Sandpaper, paint, ink, tear, or shave your top, bottom and circle edges accordingly. (Sorry for the blurry picture.)
14. This is a great spot to get distracted or take a break... this was
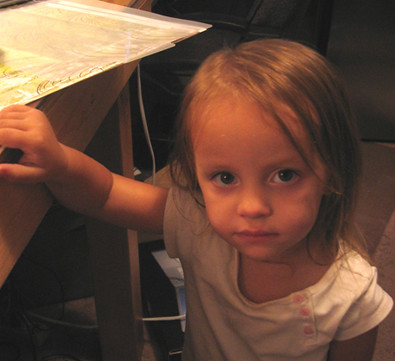
"Mommy I'm hungry" :o) Isn't she cute, and she has good timing too :o)
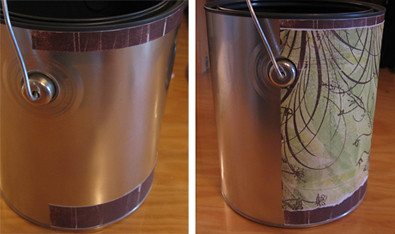
15. Glue your top and bottom strips on first, then your middle.
16. Now glue the front top, bottom, and middle pieces on, they will over overlap your back pieces... and don't forget your lid paper before you clean your sponge brush.
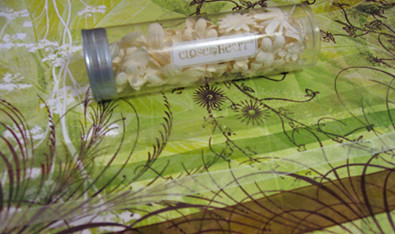
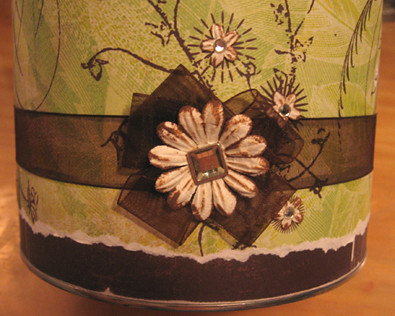
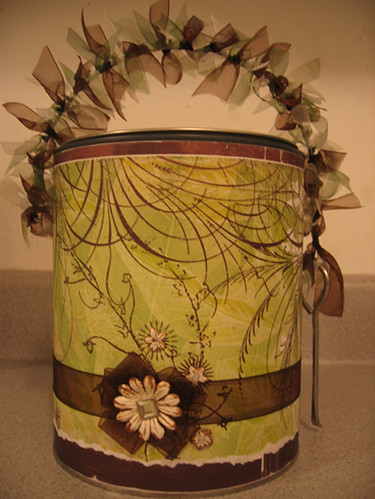
17. Embellish accordingly... I chose chocolate ribbon from Ribbon & Bows Oh My, chocolate inked flowers from Close to My Heart, and some jewels.

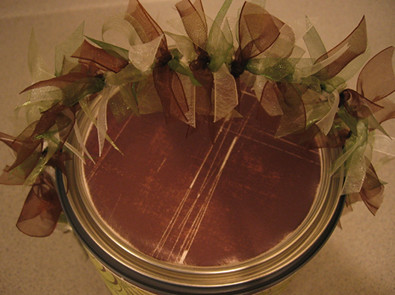
18. Tie lots of pretty ribbon to your handle, and your paint can key to one side...
I found I need about 8 to 9 yards for one entire gallon can, and about 6 for the smaller clear pails.

Enjoy! And don't forget to share your finished product with us :o)

Altered Paint Cans

Okay ladies as I promised, the recipe is here. But now that I am finally posting it I'm remembering back to when I wasn't even willing to make one of these suckers, it took me forever just mulling over the idea before I made one. I didn't see the point, what would it be used for?

Well, let me tell you just in case you are as bad as I was... they can pretty much be used in the place of any gift bag, but even more cute and specific, like with themes of a spa retreat, a date/movie night, a wedding engagement, a baby shower and so on. They also make good raffle, card, donation, suggestion, or even supply buckets.

My first paint can was for a client's husband's retirement party about a year ago. The party was Mardi Gras themed, so I made her a themed can and some tags to match, she put it all on a table where people wrote their best wishes for her husband on the tags and put them in the can. I ended up making a custom album for her as well with the party pictures where I used the tags, it was wonderful... and I was sold!!! I have made about 40 cans since. Including the 16 I made recently for my dear friend's wedding reception centerpieces (pictured above). The possibilities are endless.


Be sure to check out our other Recipes including a paper bag album, a lunch pail tin and a Starbucks frappuccino box.