

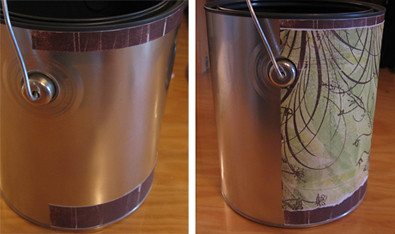
1. Purchase an empty paint can.
I found Home Depot to be the most expensive ($4.20) and Dunn Edwards to be the cheapest ($1.78) for a one gallon can.
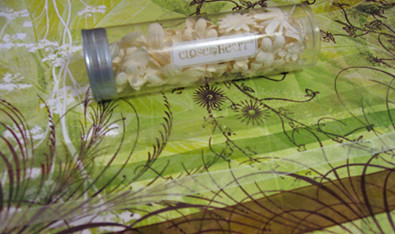
You could also purchase the clear pails like from Stampendous (pictured above) but then you would have to alter the instructions accordingly.
Don't forget to pick up a paint can opener (or key) as well.
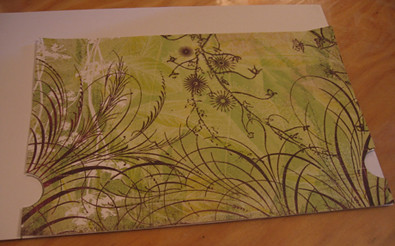
2. Pick your paper and coordinating embellishments.
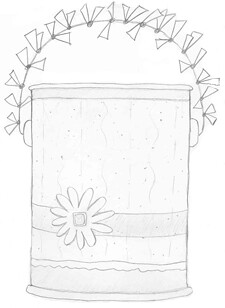 3. Plan your layout design before you start, maybe jotting a sketch down.
Here is the Sketch I made... notice it shows me where my darker solid paper is, and where my patterned paper is and that it has a torn bottom edge. I also knew I wanted to use sheer ribbon around the can with a flower on it.
Of coarse I made that sketch all for you, but really it's all in my head... I just want you to know you need a plan.
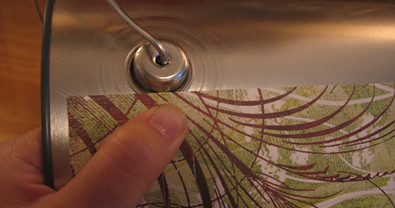
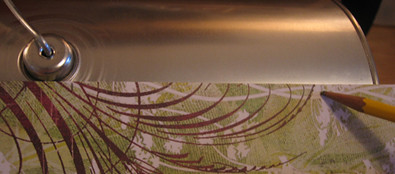
4. Lay your can on it's side and hold your paper parallel to the top of the can and up to the handle knob.
* You will need to hold the top of your paper at different distances from the top of the can depending on your design plan... notice mine is not right up to the top.
Then hold a piece of scratch paper the opposite direction (also up to the knob) and make a mark... do this on both sides of the knob.
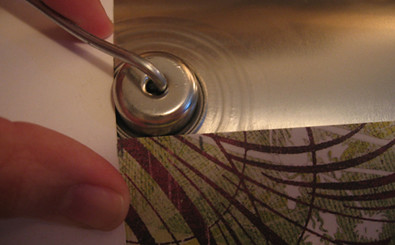
(In my case this is about where my paper will be torn.)
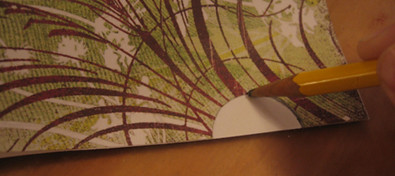
6. Punch or cut a 1" circle out and fold it in half.
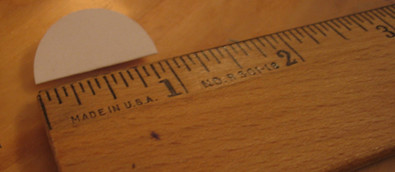
7. Line that half circle up with the marks you made in step 4, trace it and cut it out.
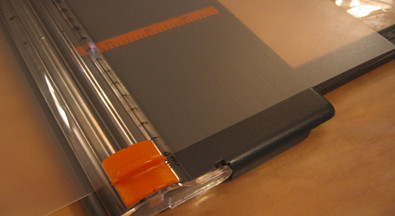
8. Cut your paper to 10 3/8" wide.
9. Use your cut side as a guide to trace the other side... then cut that side out.
Test your paper on your can... I noticed at first I had a hard time knowing where my paper should go, so I pictured a couple tips that will help you line things up.

You could take the scratch paper your circle was punched from and place it evenly around the knob to show you how far your real paper should be from it...
Or you could simply use scratch paper to estimate the center of the knob and make a mark on your can, this is about where your paper will start.

10. Now since you need a second paper the same as your first to go on the other side of the can, simply cut your paper 10 3/8" wide by whatever height your first paper is... trace your half circles and cut.
*GOOD TIP: Make a template out of left over plastic dividers by cutting it
10 3/8" x 7 7/16" and repeating steps 4,6 and 7 twice... make sure you test your template every time you use it as not all cans are the same.
10 3/8" x 7 7/16" and repeating steps 4,6 and 7 twice... make sure you test your template every time you use it as not all cans are the same.
11. Use your template (or your can) to make a mark for your bottom paper's height... cut it at your mark and at 10 3/8" for your width.

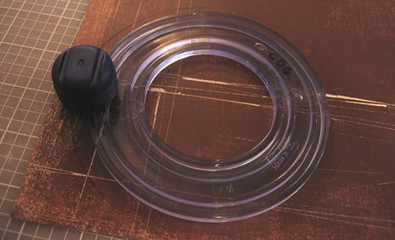
12. Cut a 5 1/2" circle for your lid. (I used my Creative Memories circle cutter.)
14. This is a great spot to get distracted or take a break... this was
"Mommy I'm hungry" :o) Isn't she cute, and she has good timing too :o)
"Mommy I'm hungry" :o) Isn't she cute, and she has good timing too :o)
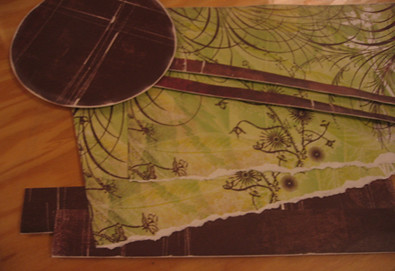
15. Glue your top and bottom strips on first, then your middle.
16. Now glue the front top, bottom, and middle pieces on, they will over overlap your back pieces... and don't forget your lid paper before you clean your sponge brush.

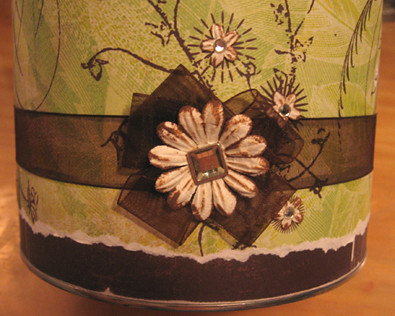
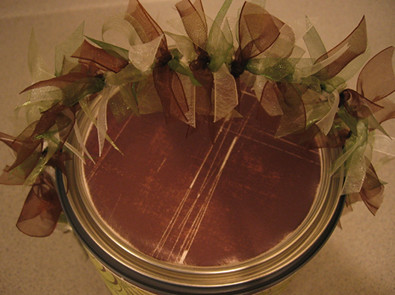
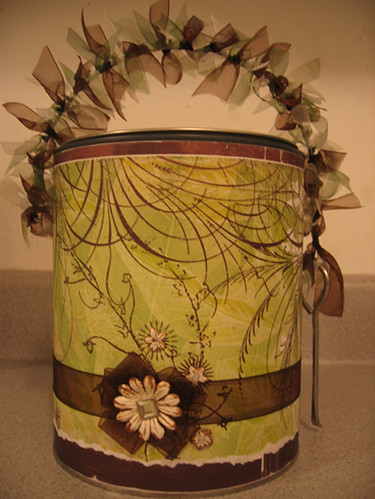
17. Embellish accordingly... I chose chocolate ribbon from Ribbon & Bows Oh My, chocolate inked flowers from Close to My Heart, and some jewels.
I found I need about 8 to 9 yards for one entire gallon can, and about 6 for the smaller clear pails.
Enjoy! And don't forget to share your finished product with us :o)
11 comments:
BEAUTIFUL.... I LOVE THEM.. I've made ONE.. a Birthday Can for my niece and it was a lot of work.. but they come out so CUTE!!! GREAT JOB!!!
I can't wait to try this out. I'm thinking Christmas gifts! A few questions - what type of adhesive do you use when making altered items? When I scrap I used click n stick or something similar. Do you think that would work or do I need hodge podge (I think that's what it's called) or another product?
All of your cans look so cute!
Wow!! They turned out so great!!!!!!!!! I'm going get a paint can and give this a try! Thank you for taking the time to include the step by step instructions and pictures. Your little girl is a cutie pie. :o)
Thank you for sharing the recipe for these cute cans. :0)
These are too too cute! I was just looking at and thinking about using paint cans for Christmas gifts...with stuff in them of course!
Thanks for the inspiration!
Hey, saw your name over at Blogibration. Congratulations!
Hello, thanks for the E-mail. I had to check out to make sure it was a safe site. I thank you for the recipe for the paint cans too cute!
&
Very cute daughter you have there. The project is so nice. I think that these would be so gun for many different uses. A house warming gift comes to mind.
&
Carolyn I posted a blurb for you on my site.
Oh, those turned out very cute!!
Love your paint cans! Thanks for the ideas!
I lovee it! Yay for directions, now I can attempt my own. I still love mine, and still have no idea what to use it for! It's the center focus in an area in my new house I'm decorating though, that's how much I loved it! Every other decoration in my kitchen office is based on the colors/designs on the can from you!
Of course, if I want a nice one to give as a gift in the future I'll be coming and ordering from you!
Hi I love it!! And i want to make it soon OhGod i really loved it kisses n Thank u to learn us!!!
Post a Comment